home: made [ bedside tables ]
Whether you’re handy enough to build a DIY table or can just get hold of random objects, there are numerous ideas to use to create unique simple structures that can act as a stylish beside table.
There are tutorials to build simple structures but also it’s about using other pieces of furniture or structures that can have an alternative use as a bedside unit. Try hunting for wooden crates, mini step ladders, floating shelves or an upturned steel bucket or bin.
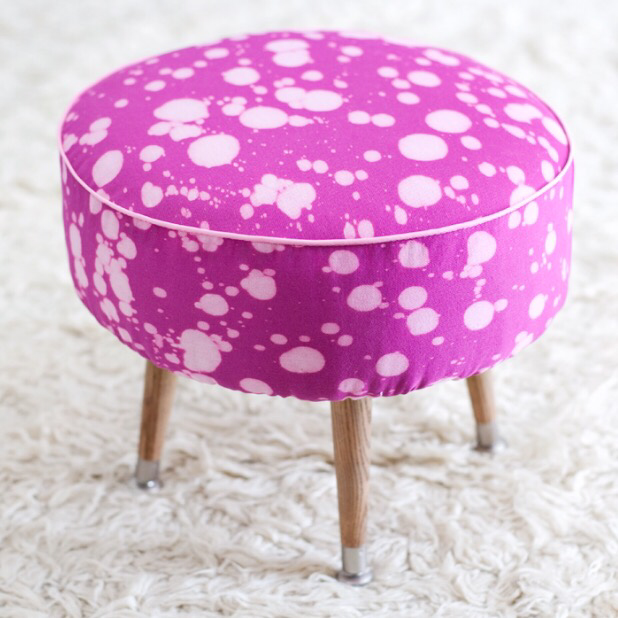
For the simplest idea try using a stool as a table. It’s just the right height to be perfect beside a bed and there’s so much choice to match a interior styling theme – wood, copper, cork etc and can of course be painted to suit the colour palette. It’s a cheap option when a stool could be picked up for low prices from high street stores including IKEA and Dunelm or hunt through carboot sales, charity furniture shops or vintage fairs for bargains that can be used in their rustic or industrial state or upcycled with paint, fabric or even decoupage.
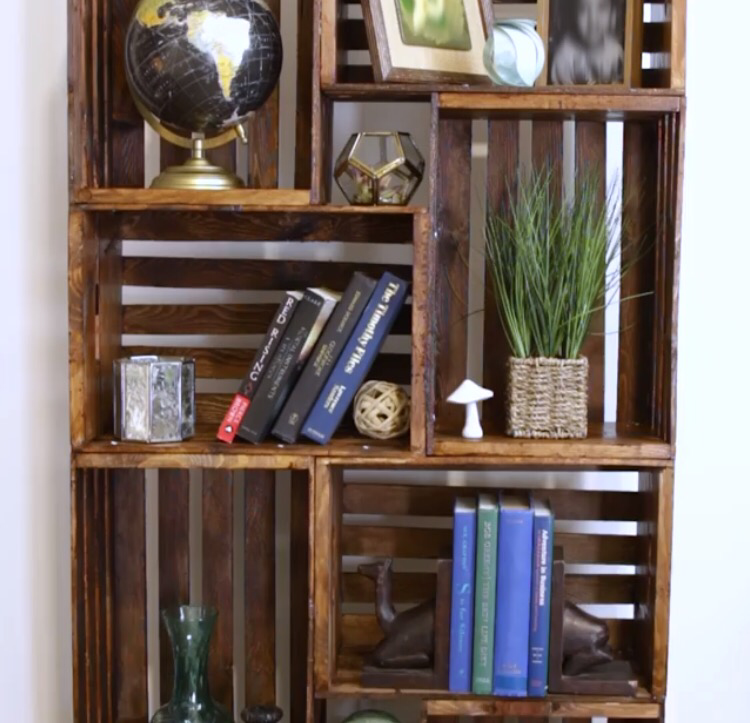
Crates are great as a ready made cube to both offer storage inside and a flat surface on the top. Add caster wheels or screw in legs to add an extra level to the design. Ensure the condition of the crate with smoothing down any rough edges, and waxing, varnishing or painting.
Stacked items can also form bedside units – try bricks, concrete blocks, vintage cases, glass bricks or even bottle crates. The simplest item stacked as they are or topped with a simple square of wood or a large tile can be an easy way to produce a unique surface and a cool piece for a bedroom.
Keep your eyes pealed for bargains that can be turned into pieces of furniture and follow on Pinterest for inspiration.
1 Adding wheels to an upturned crate
2 Follow tutorials for guidance to make unique furniture
3 On-trend concrete – easily used in the home
4 Stacking vintage suitcase – great storage and a solid surface. Hunt eBay and vintage fairs.
5 Simply stack books or magazines and top with a square of wood or glass or simply one larger hard back book
6 Quirky idea to use a suspended swing shelf as a bedside table
7 Gorgeous cork SINNERLIG stool from IKEA £50
8 Try Etsy, EBay or Not On The High Street for crates or take your time hunting antiques and vintage fairs.
9 Crates when stacked, create simple shelving

![home: made [ furniture legs ]](https://anotherhomeblog.com/wp-content/uploads/2017/02/img_0598.jpg?w=863&h=0&crop=1)

![home: made [ hanging plant shelf ]](https://anotherhomeblog.com/wp-content/uploads/2017/01/img_0085.jpg?w=863&h=0&crop=1)

![home: made [ curtain tie backs ]](https://anotherhomeblog.com/wp-content/uploads/2017/01/img_9773.jpg?w=863&h=0&crop=1)
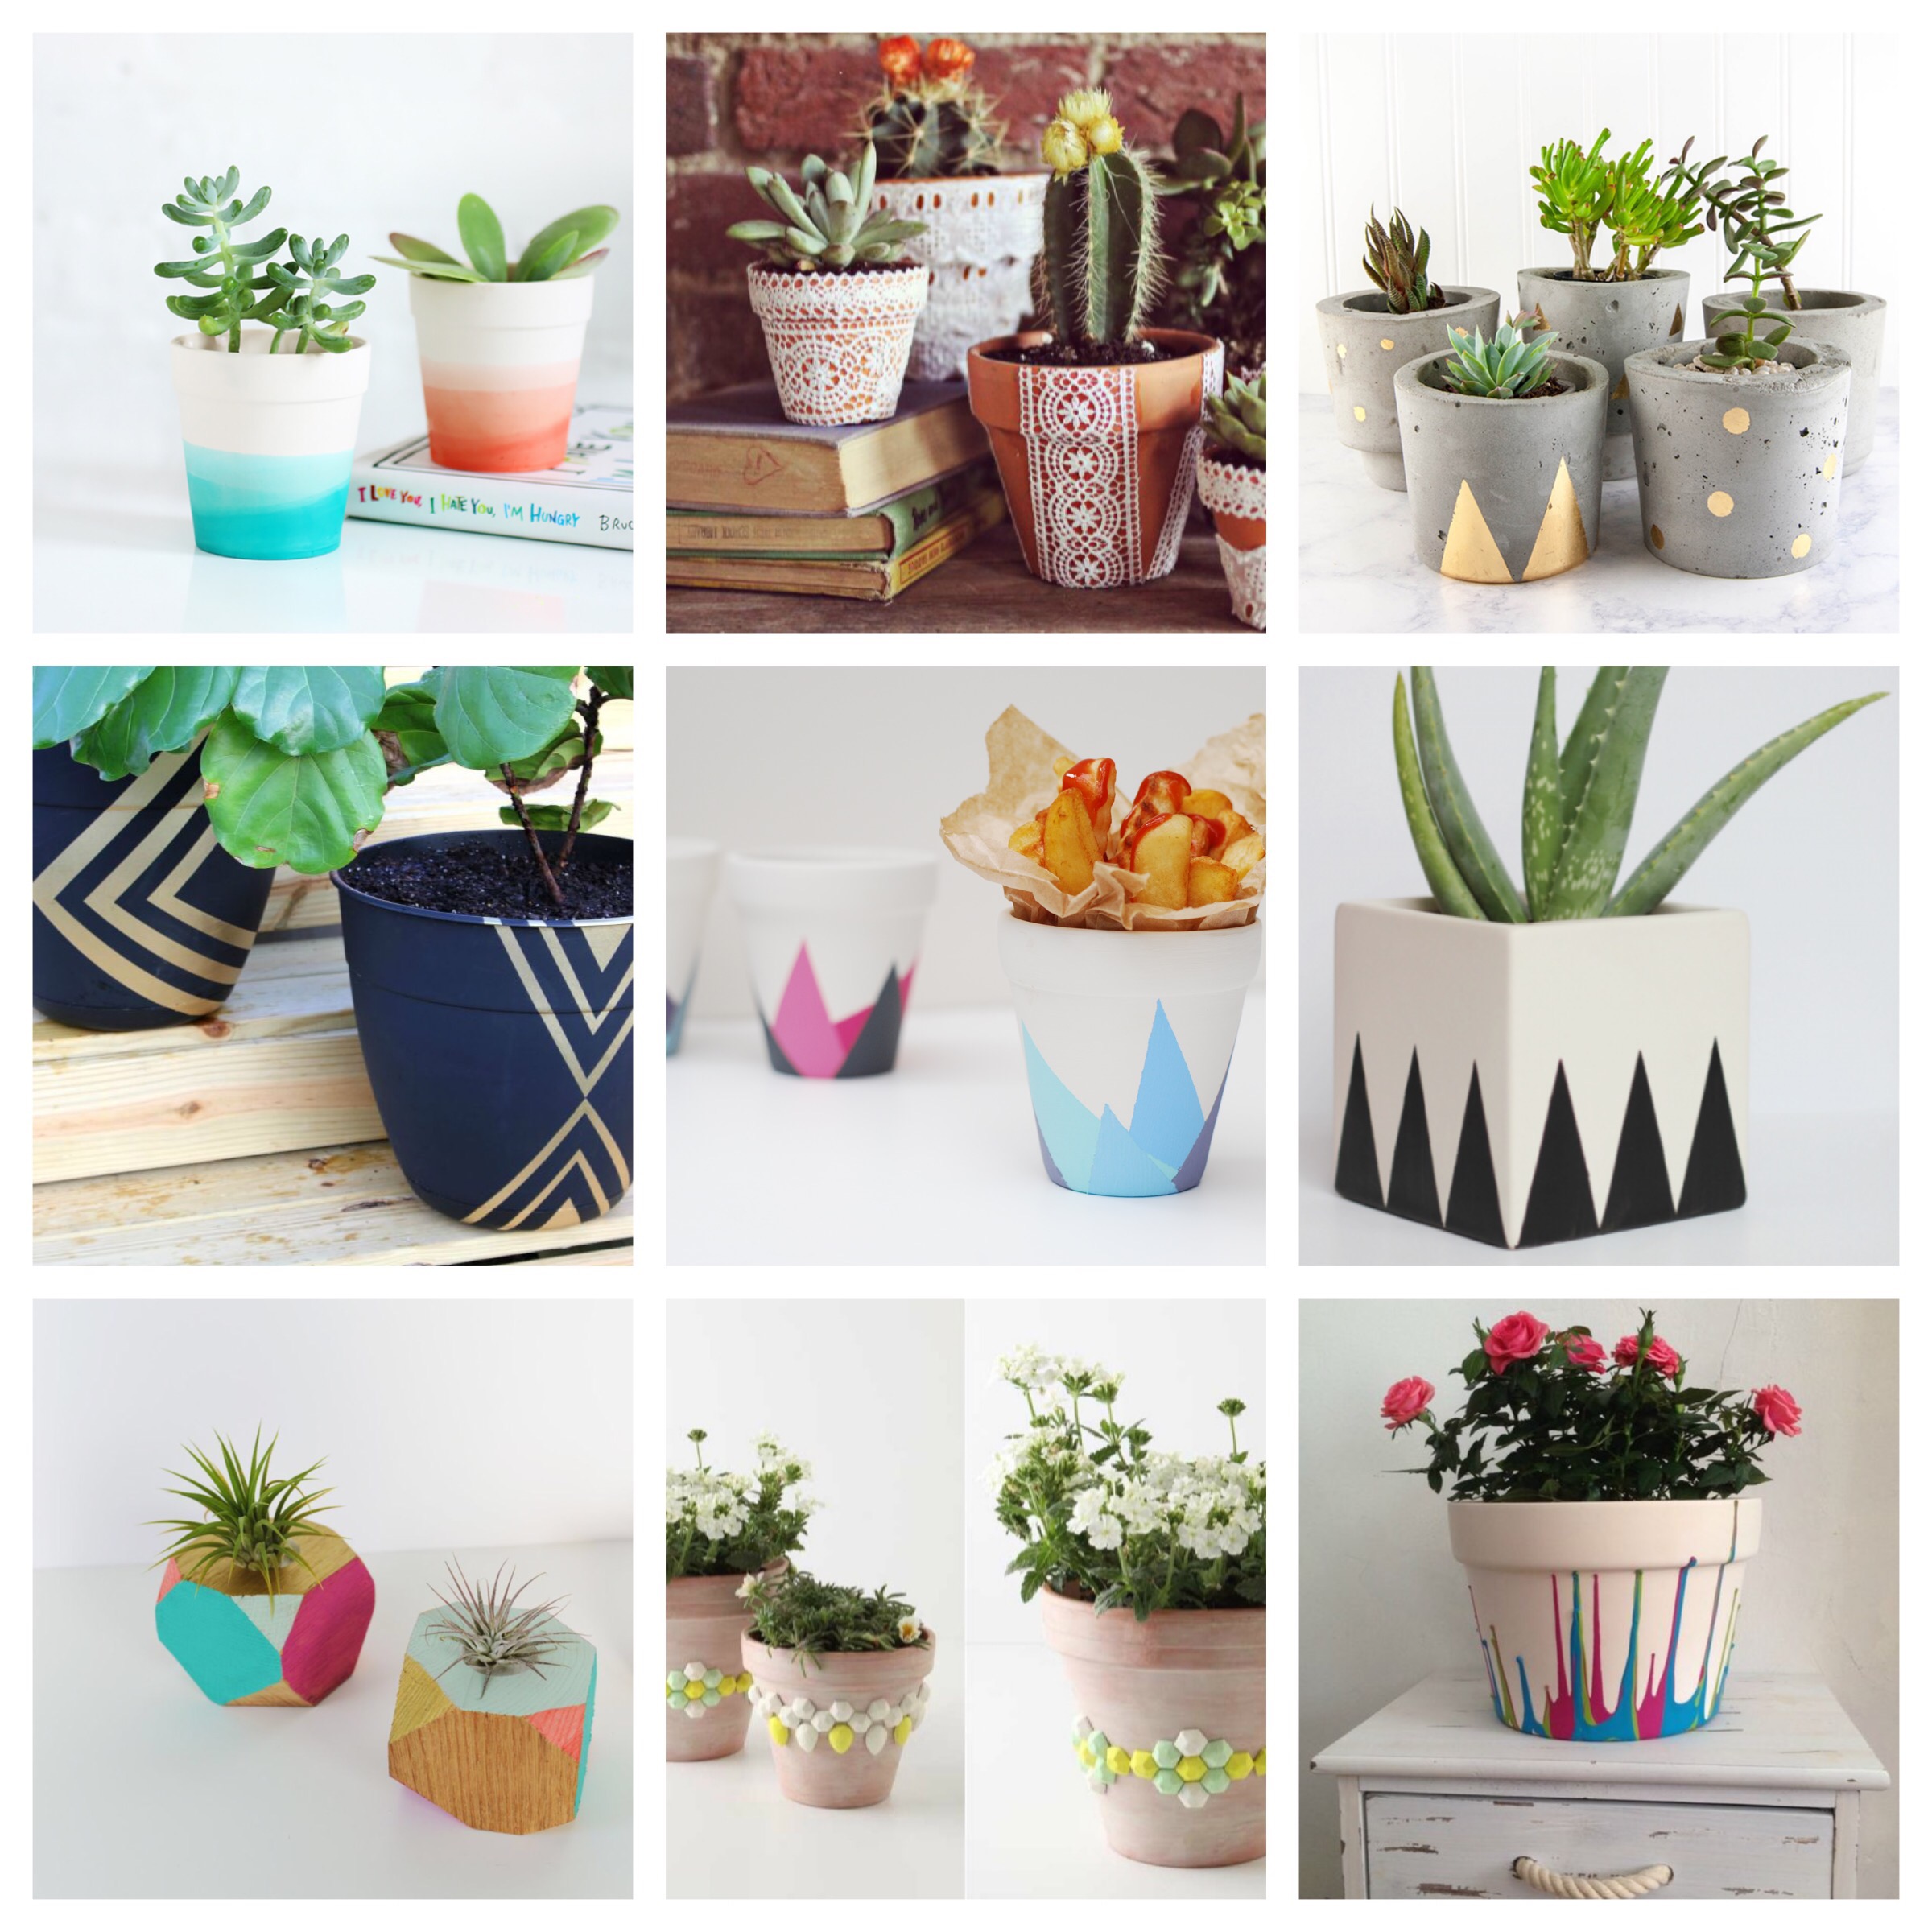
![home: made [ plant pots and plant stands ]](https://anotherhomeblog.com/wp-content/uploads/2016/12/img_9495.jpg?w=863&h=0&crop=1)

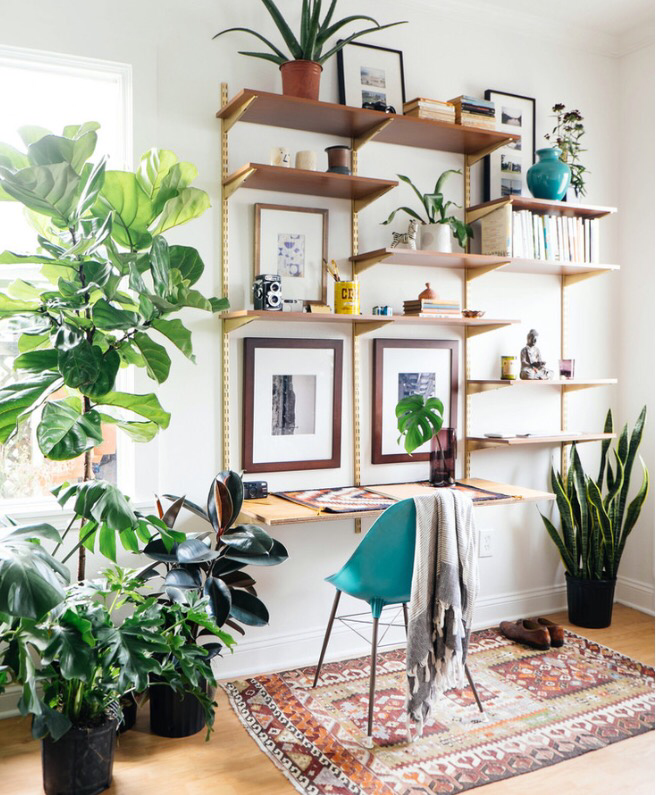
![home: made [ midcentury shelving ]](https://anotherhomeblog.com/wp-content/uploads/2016/11/img_8635.jpg?w=863&h=0&crop=1)
![home: made [ towel loops ]](https://anotherhomeblog.com/wp-content/uploads/2016/11/img_8090.jpg?w=863&h=0&crop=1)
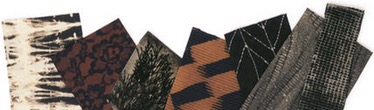
![home: made [ bleach dyeing ]](https://anotherhomeblog.com/wp-content/uploads/2016/11/img_7690.jpg?w=863&h=0&crop=1)
![home: made [ scandi wall hanging ]](https://anotherhomeblog.com/wp-content/uploads/2016/10/img_6936.jpg?w=863&h=0&crop=1)
![home: made [ bedside tables ]](https://anotherhomeblog.com/wp-content/uploads/2016/10/img_6349.jpg?w=863&h=0&crop=1)
